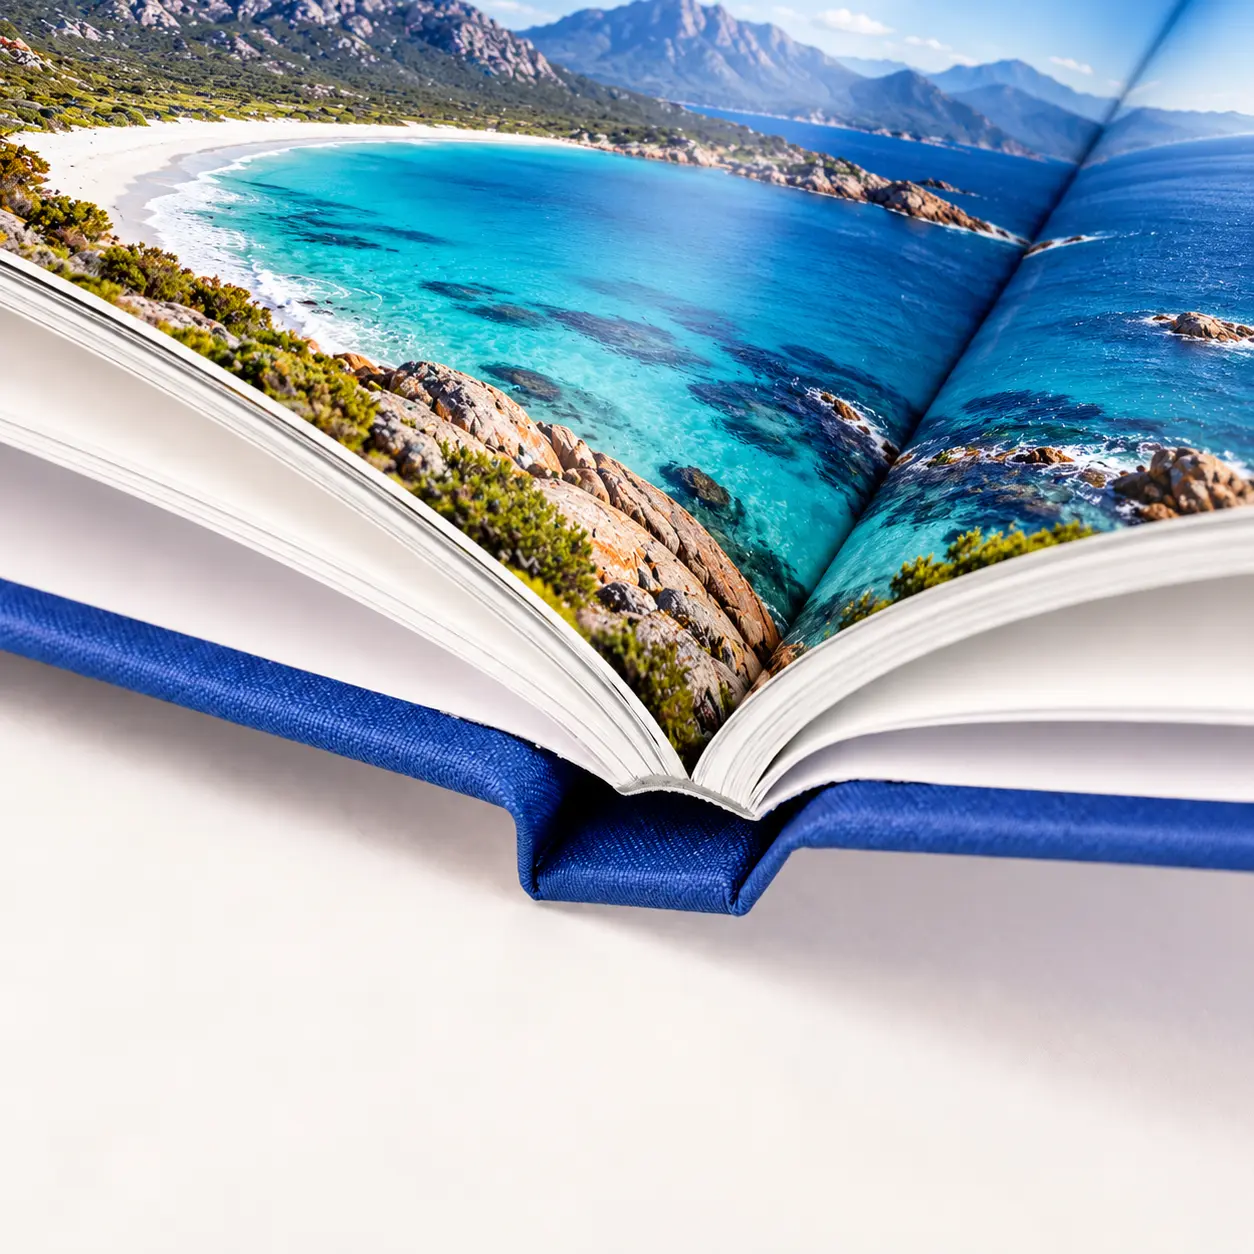
For photographers, print quality is the product — a portfolio lives or dies on how the images look on paper. PrintAIBook prints on demand through a professional facility, with no publisher, no minimum, and no account, so a single beautifully printed portfolio is as easy to order as a hundred. The one thing that decides whether the quality survives the trip to print is how you prepare your files. Here's the whole process.
Choose a format that suits your work
Landscape is the classic portfolio shape and flatters most work; square (21 × 21 cm) is striking for fine-art and mixed-orientation sets. Pick hardcover — a portfolio should feel like the finished object it is. Tip: match your images' orientation and proportions to the book size so each photo fills the page instead of sitting inside a white margin.
Choose your paper — gloss or Mohawk
For a portfolio, paper matters as much as the cover. Peecho hardcovers offer two content papers:
Gloss (200 gsm) gives rich, punchy colour and deep blacks — the natural choice for a photography portfolio, because it makes photographs snap the way they do on screen. Uncoated Mohawk Superfine Eggshell Ultrawhite is a premium, tactile matte stock with no glare — better for an illustration or fine-art portfolio, where a soft, paper-forward finish suits the work. Both print on HP Indigo presses.
Every hardcover has a 2.5 mm matte-laminate wrapped cover and a square PUR-bound spine you can print a title on, and holds 24 to 504 pages — choose the paper that fits your work when you order.
Export at full resolution — this is the one that matters
Aim for 300 DPI at the final print size — roughly 3500 px on the long edge for an A4 landscape page, about 2480 px for a 21 cm square. Export from your highest-resolution originals and never upscale a small file to fit; upscaling is the number-one cause of a soft, disappointing photo book. Convert to the sRGB colour space on export — most print facilities expect sRGB, and Adobe RGB or ProPhoto files can come back duller or shifted.
Build the book — two ways
Lay it out in your tool of choice — Lightroom's Book module, InDesign, Photoshop, or Canva — one image per page or per spread, then export a single high-resolution PDF and upload it. Or, for a clean one-image-per-page portfolio with no layout software, use our build-from-images tool: drop your photos in, set the order and covers, and we assemble the print-ready PDF.
Preview every spread — and let us check the quality
Before you pay, flip through the whole book as real facing spreads, covers labelled, exactly as it'll print. We also automatically flag any image that arrives below print resolution, so a soft shot never slips through to the printer unnoticed — a safety net worth its weight for a portfolio.
Order, and we print and ship it
Choose hardcover, and your portfolio is printed on demand and shipped worldwide — one copy or several, whenever you need them.
The make-or-break for a photo book is resolution and colour. Export at 300 DPI at the final print size, from full-resolution originals, in sRGB. Get that right and your prints look as sharp and true as your screen — get it wrong and no paper can rescue them. If you're unsure a file is ready, our Print Requirements page has the full checklist.
Ready to print your portfolio?
Upload your PDF →Working from loose images? Build your book from images instead.